
Azure AD Application Proxy
Azure AD Application Proxy is a really neat tool for publishing internal applications without exposing your servers to the Internet. If your applications require authentication for users to access them you can get Azure to handle all this for you, and it supports single sign on. Alternatively if you've got an old or obscure application that can't cope with Azure SSO you can configure it to use passthrough authentication, where the internal application remains responsible for this task.
You can use Conditional Access to restrict and secure access to your application, such as enforcing MFA, or only permitting access from specific devices or locations. The way the proxy works does not require you to open any inbound ports through your firewall - the proxy connector simply connects outbound to Azure and all traffic is routed through that connection.
You'll need Azure AD Premium P1 or P2 for this to work. There's been some talk of it working on the Office 365 Basic level of Azure AD however it's not listed as supported, and I'd expect that this may be an educational SKU specific exception case.
Installing the connector
The first step is to go to the Azure AD Portal > Application Proxy section and download the connector service. Run the connector installer on a server which has network access to the services you wish to publish through the application proxy - it doesn't have to be physically in the same location, it can even be on an Azure virtual machine so long as you have a VPN set up. The connector is supported on Windows Server 2012 R2 and newer editions.
You'll need to either have a decent browser installed on the server you're using, or have disabled the IE Enhanced Security Configuration (it's inside Server Manager > Local Server), before you run the installer as it pops up a web browser to get you to log in to Azure AD. Once you've got this out of the way, run the installer and log in when prompted.
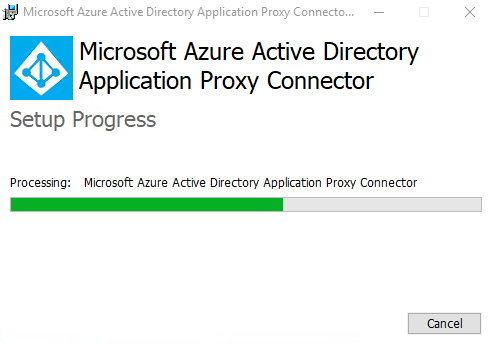
On the last screen of the setup program it will mention proxies - basically if you need to go through a proxy server to access the Internet you'll need to make sure that the Azure AD Application Proxy Connector can contact Azure through it.
Once that has finished you'll need to go back to Azure AD > Application Proxy, if you've still got it open then give it a refresh. You'll hopefully see that there's now a connector group called Default, and inside it is a connector which should show its status as Active. Now we've got the connector set up we need to enable the application proxy, so click on Enable application proxy in the toolbar at the top.
If you're doing this in a production environment I'd recommend installing a second connector on another server to ensure high availability of the application(s) you are publishing.
Creating an app
Now we need to create the app we want to be able to access through the App Proxy. Click on Configure an app at the top.
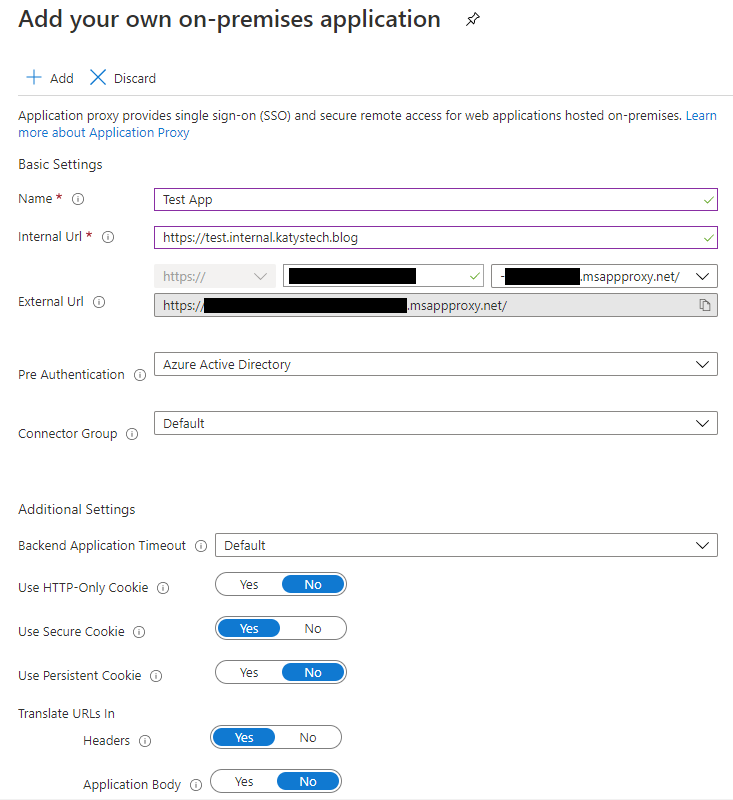
Work your way through the fields, the basic information you'll need for this is the internal URL for the service you want to publish through the proxy, and perhaps the authentication you want to use. If you use Azure Active Directory then you will define who has permission in Azure, and those permitted access will be allowed through. If your application doesn't know how to interface with this then you may end up with double authentication prompts for your users - one from Azure, and one from the internal application. The alternative is to use passthrough, where the authentication is handled by the internal application rather than by Azure.
When selecting the external URL, you'll have to configure DNS and upload an SSL certificate if you use anything but the default msappproxy.net domain. A PFX file containing the certificate and private key works here. This address is what your end users will be using to access the internal service.
Once you're happy with the details, click on Add and it will create your app registration.
Testing and tweaking
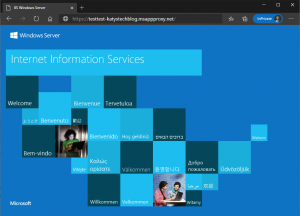
You should now be able to paste the external URL into a web browser and, if you left it at Azure AD pre-authentication, you'll be prompted to log in. You're likely to get an error saying "Forbidden: This corporate app can't be accessed" at this time though - because we've not given anybody permission to use it.
Go to Azure AD > Enterprise Applications > All applications, then search for your app and click on it. You should then see some Getting Started icons - click on the first one to assign users and groups.
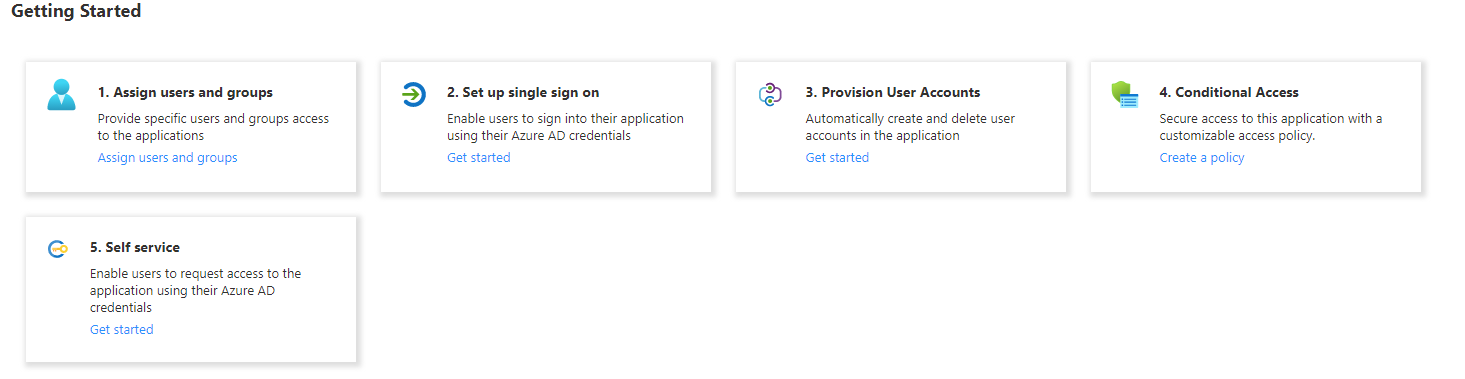
Add the users and/or groups you want to have access - just be aware that if you're selecting groups, it doesn't support nested groups unfortunately.
Looking at some of the other sections, if you click on Properties you can configure the display name and logo which will appear on the Access Panel and Office 365 launcher (and you can configure whether it even appears there or not). You can also control whether users need assigning or whether everyone can access it.
Finally, you're likely to want to enable Single Sign On. Clicking this item on the menu will ask you which SSO method you want to use:
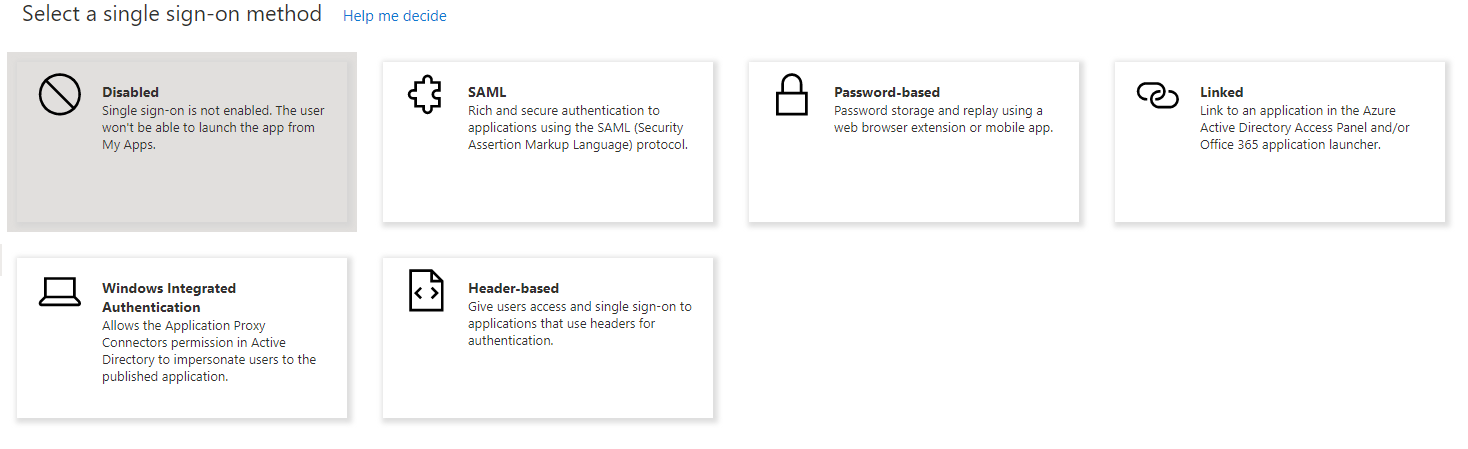
I think the most common one to pick here will be Windows Integrated Authentication, so I'll go through setting that up. Click on Windows Integrated Authentication to change the mode and you'll be asked a couple of questions. I ran through this publishing an IIS hosted site with Windows Authentication enabled.
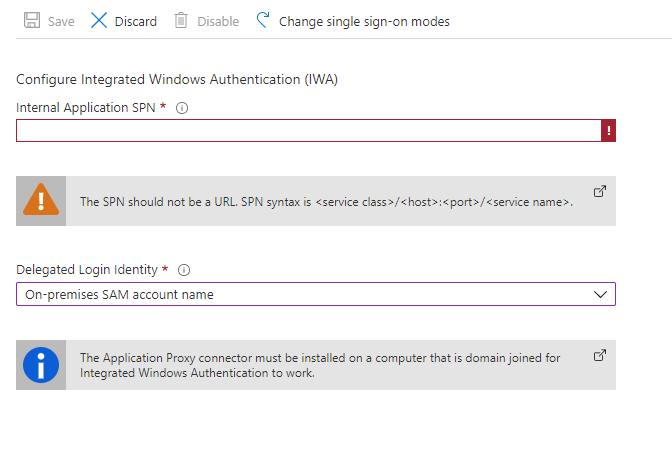
First you'll need the application's SPN - Service Principal Name. You'll then need to select the delegated logon identity - do you want it to impersonate the sAMAccountName, or the userPrincipalName, or some other option?
Before we can configure this, we will need to set up Kerberos Constrained Delegation for the Application Proxy Connector. We'll also need the SPN used by the application you want to publish.
Open up Active Directory Users and Computers (dsa.msc) and find the computer which is running the connector. Open up the Properties and go to the Delegation tab. Select Trust this computer for delegation to specified services only, and Use any authentication protocol. Click on Add to add the SPN for your service - you'll need to enter the computer name when prompted, and then select from a list of SPNs published for that computer in Active Directory. If you need more detailed steps or screenshots there's a detailed run through of this bit in the Microsoft Docs.
Now we've done that we should hopefully know the SPN to enter into the Azure AD Application Proxy screen - it should look something like http/internal.service.url. Once you're done click Save.
Another thing to note when setting this up - this only supports accessing services where you have used an A record in DNS, rather than a CNAME.
Further Reading
- Remote access to on-premises apps - Azure AD Application Proxy | Microsoft Docs
- Tutorial - Add an on-premises app - Application Proxy in Azure AD | Microsoft Docs
- Kerberos-based single sign-on (SSO) in Azure Active Directory with Application Proxy | Microsoft Docs
- Troubleshoot Kerberos constrained delegation - App Proxy | Microsoft Docs
In this post
Support My Work
I hope you find my content useful. Please consider tipping to support the running costs of hosting, licensing etc on my Ko-fi page.
