
CM: Run Task Sequences using bootable USB media
If you've had to deploy any laptops recently you'll have noticed that it's very difficult to find smaller (lower budget) devices with onboard LAN any more. We recently replaced two trolleys of laptops and the only choice to keep within budget was sacrifice the network port. While this isn't a problem for their day to day use (as we have full site wireless coverage), when it comes to deploying and updating them... not so great. Well it's MEMCM to the rescue again with bootable media.
If you have a look in Software Library\Operating Systems\Task Sequences, you may have noticed a button called "Create Task Sequence Media". This will let us pick from a range of media types, in this case we are interested in the first two - Stand-alone media, and Bootable media. You'll need a few USB pen drives handy, and make sure you insert the drive before launching the wizard or it'll not appear as an available device.
As its name suggests, Stand-alone media will put the boot media and entire contents needed to install the task sequence onto a USB drive (or split over CD/DVD if you have to). However I'd rather not have a pile of USB drives with the entire task sequence on - what if I update the task sequence? Then I'd have to re-build all the USB drives.
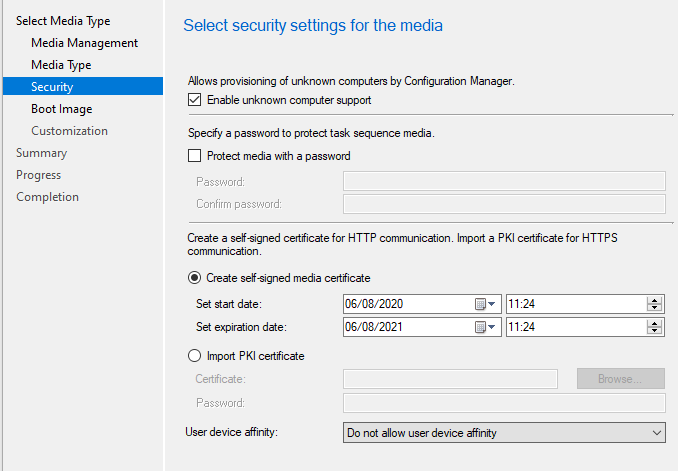
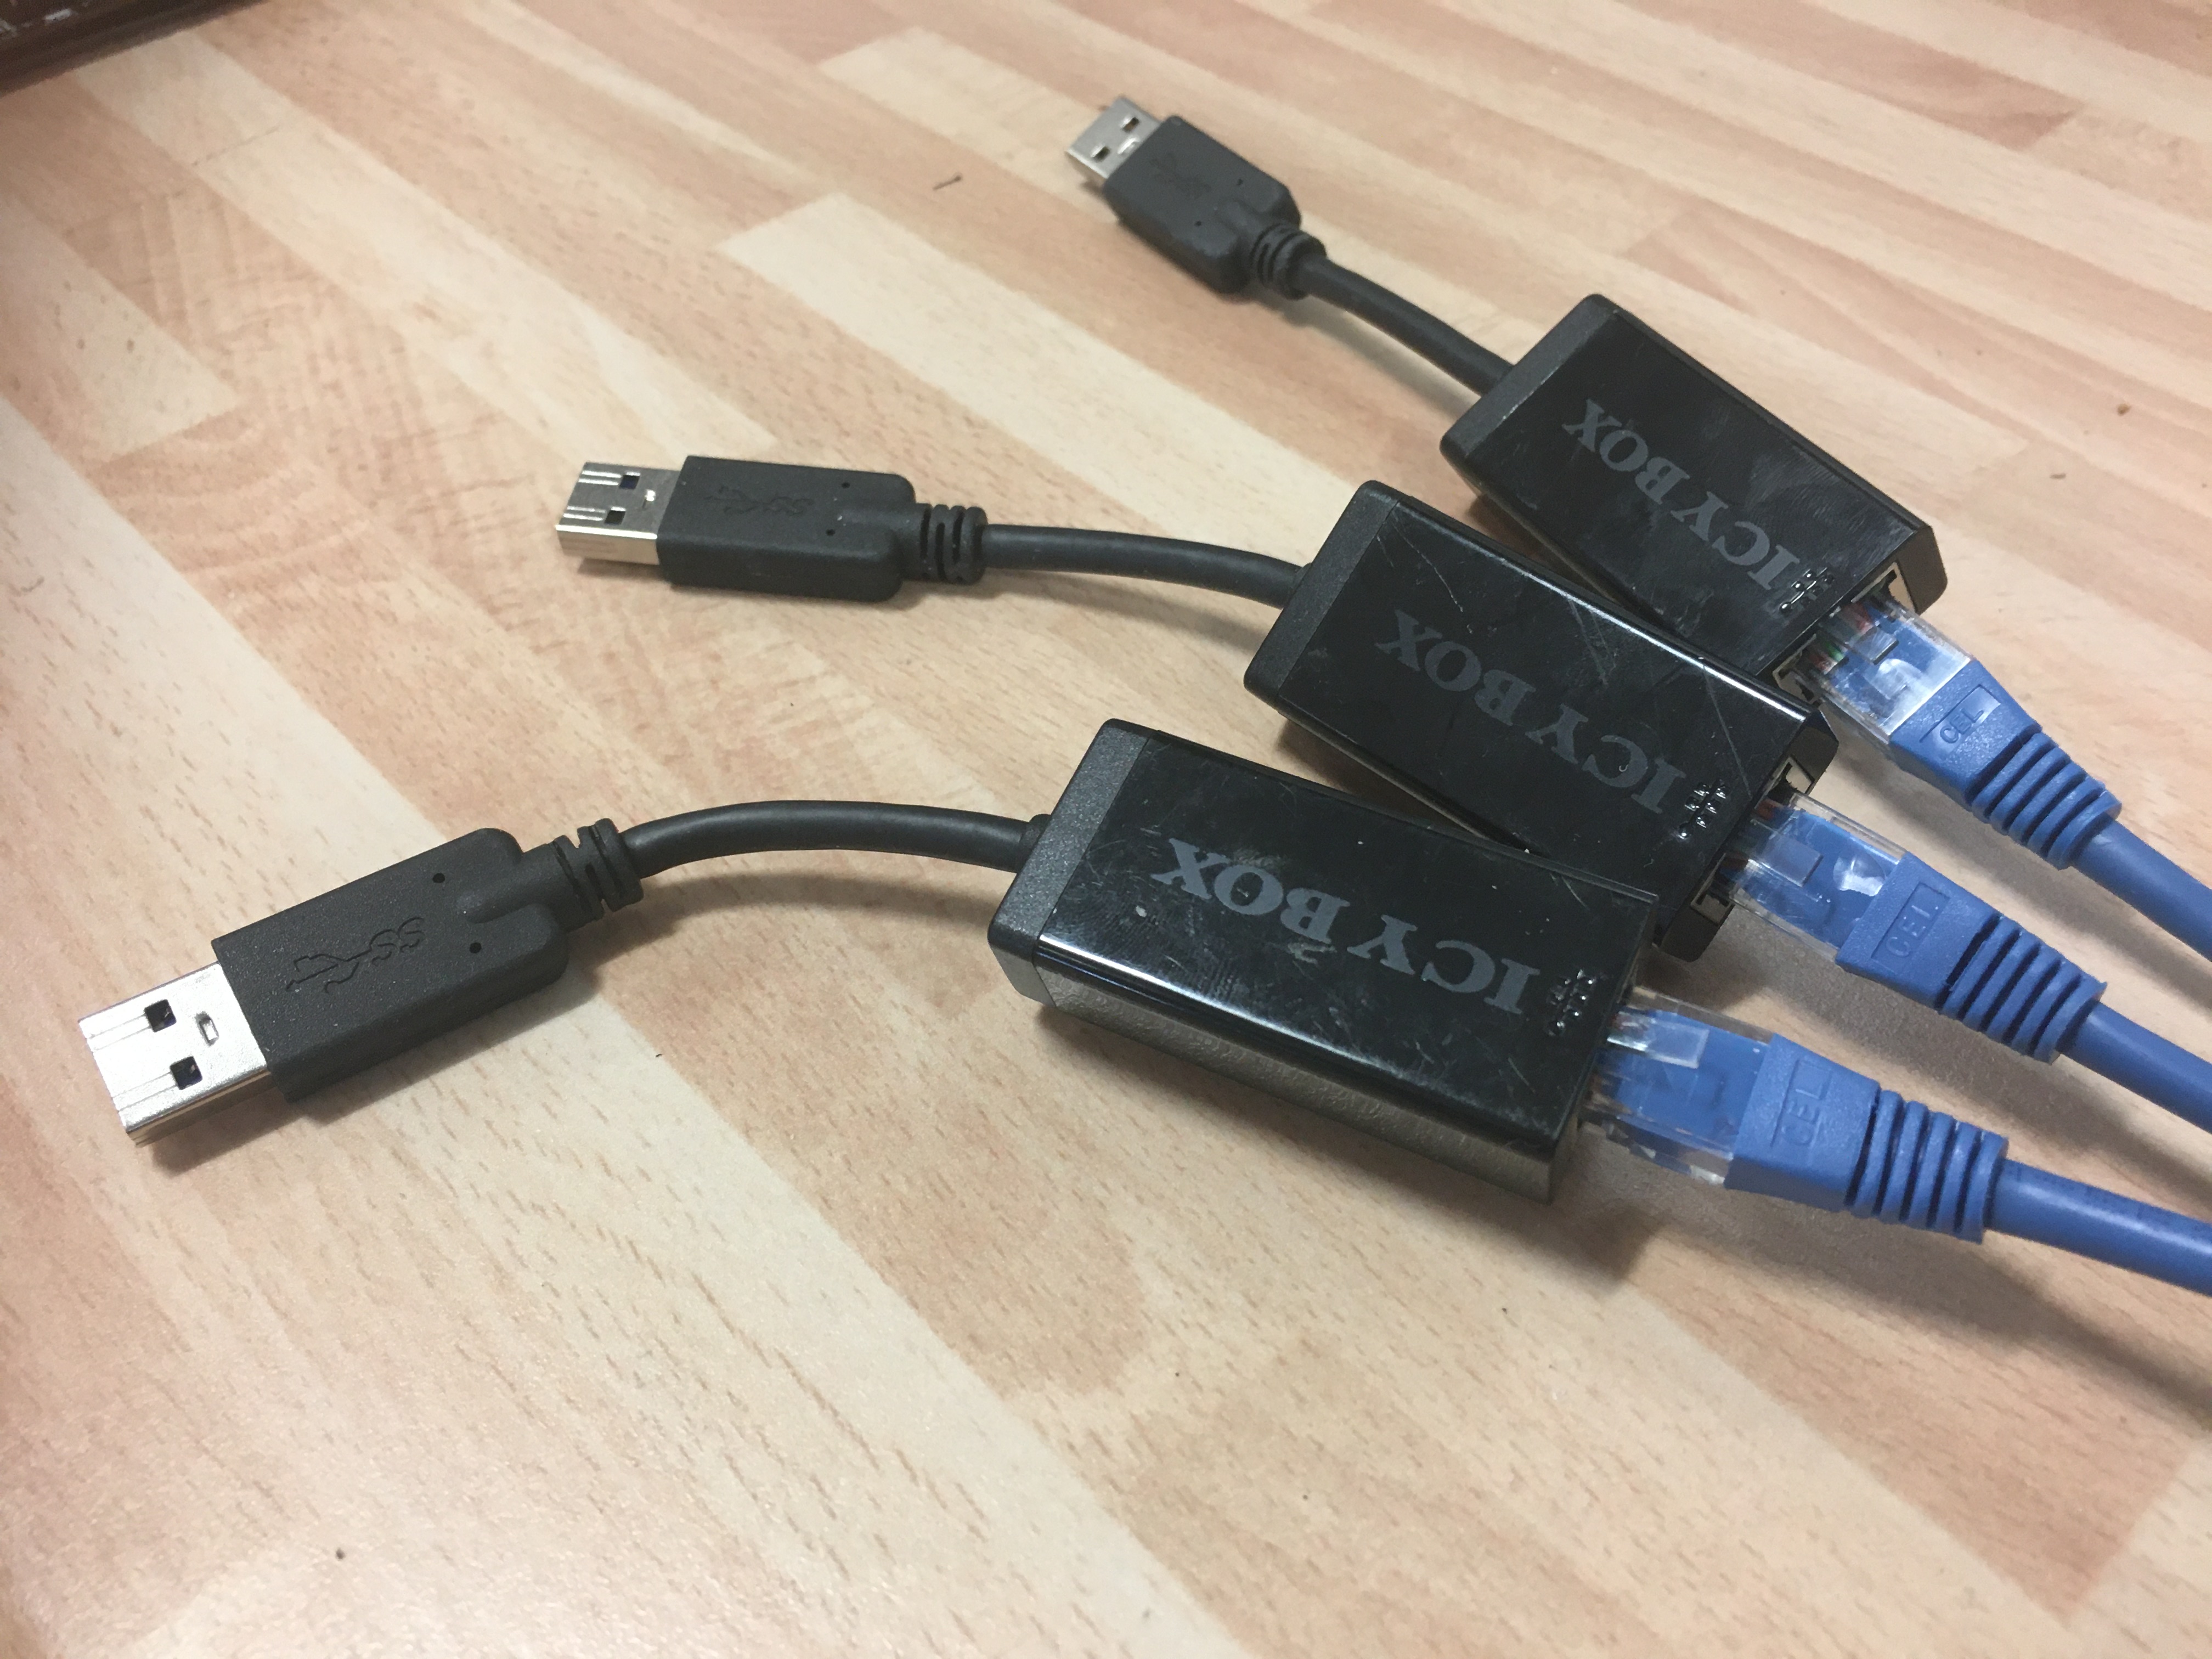
This leads us to the Bootable media option. You'll need some USB network adapters for the client devices for this option to work. Run through the wizard, selecting the USB drive you want to use - I usually leave most of the other settings at their defaults. Finally you get to pick the boot image you want to use (this will be the same one configured in the task sequence properties\Advanced\Use a boot image) and the distribution point and management point.
Now boot up a device from the USB media, with a USB->Network adapter plugged in, and with any luck you'll get any required or available deployments which have been made available to PXE and media.
If you're unlucky and have a USB network adapter needing an unusual driver, simply import this in the usual way (Software Library\Operating Systems\Drivers) and make sure the driver gets applied to the boot image. You'll then have to go through the wizard all over to put the new version of the boot image containing your network driver onto the USB drive.
Support My Work
I hope you find my content useful. Please consider tipping to support the running costs of hosting, licensing etc on my Ko-fi page.
