MSIX: Creating a Code Signing certificate on AD CA
MSIX packages need to be signed for them to be any use. You can get a code signing certificate from various certificate vendors, but if your package is only going to be used on company-managed devices you could use your Active Directory Certification Authority instead. The pre-requisites for this are that you already have AD CA set up, and your CA root certificate is present as a trusted root certificate on all the devices you want to use your MSIX packages on.
Creating the Template
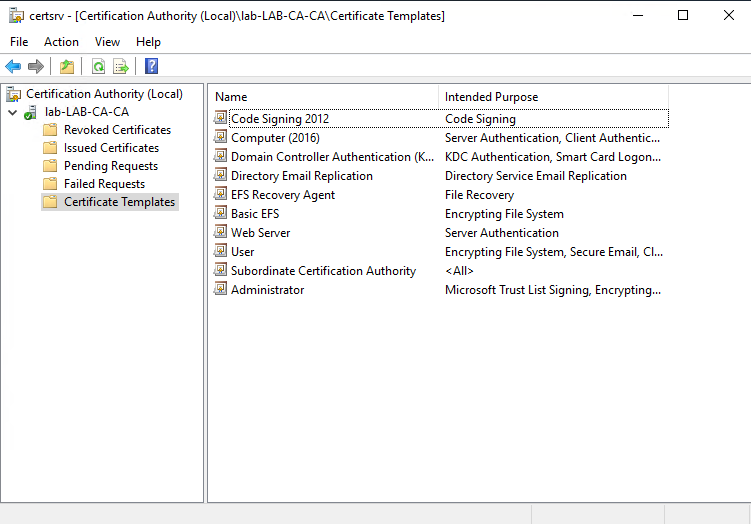
Our first step is to make the certificate template. Open the Certification Authority and target your CA. Right-click on Certificate Templates and click Manage.
In the Certificate Templates window, find the existing default Code Signing certificate. Right-click it and click Duplicate Template.
In the new template, leave everything at its default values except for:
- Compatibility Settings: Server 2012R2 and Windows 8.1
- General tab: set Display name to Code Signing 2012
- Request Handling tab: tick Allow private key to be exported
- Superseded Templates tab: add the default Code Signing template
- Security tab: Add the group you wish to issue code signing certificates (or 'Authenticated Users' if you want anyone to be able to request one), and give them the Read and Enroll permissions.
Now click OK to complete the new template, and switch back to the Certification Authority snap-in. Right-click on Certificate Templates and click New then Certificate Template to Issue. Select the new template (Code Signing 2012) from the list. It should now appear under Certificate Templates as an available template.

Requesting a code signing certificate
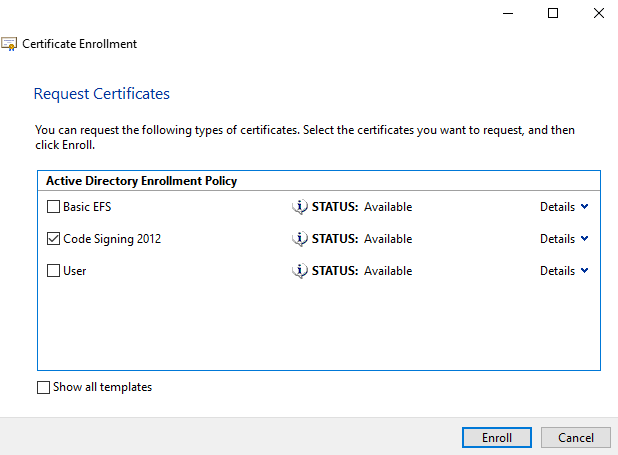
To request the certificate you'll need to open MMC as the user who you wish to be issued the certificate. Click File, then Add/Remove Snap-in and add the Certificates snap-in. If you are prompted to select which account to manage for, select My user account. Now expand Certificates - Current User > Personal > Certificates, and right-click on Certificates and click All Tasks > Request new certificate. Work through the wizard using the Active Directory Enrollment Policy. You should be given a choice of various certificate templates - tick Code Signing 2012 and then click Enroll.

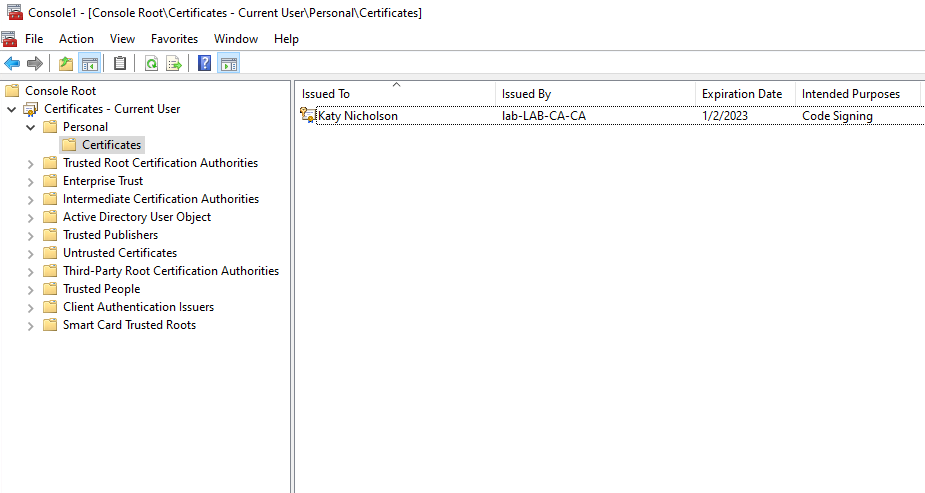
Hopefully you will now be issued with the certificate. You might need to refresh the certificates snap-in but it should appear within Personal > Certificates. As we have created this certificate to sign our MSIX packages we'll need to export it. Right-click on the certificate, then click All Tasks > Export. Work through the wizard, selecting to export the private key when prompted. Leave the export settings at the default (PKCS #12 (.PFX)), and add a password to secure the PFX - don't secure using user/group accounts as this isn't supported for the MSIX signing. Save the PFX somewhere secure ready to use when signing MSIX packages.

Finally, don't forget that the target devices will need your enterprise root CA certificate installed. If they are domain joined, they should already have this via group policy. If they are Azure AD joined, you will need to create a trusted certificate configuration profile in Endpoint Manager.

