
Raspberry Pi Server Temperature Monitor
Back in 2015 I was looking for a cheap way to monitor the temperature in our server racks and also for a project with my new Raspberry Pi Model B. I've recently had a photo from this pop up in my Facebook memories so decided I'd dig out the write-up I did and post it on my blog.
The main aims of this project are:
- Use a Pi to monitor temperature but reduce the number of Pis needed to a minimum - so if we have 3 racks in one room, try and monitor these off a single Pi
- Python script on the Pi reads the temperatures on a schedule and uploads this data to a web server
- PHP script on the web server to receive the data and log in a MySQL database and also to display the current temperature and humidity at each sensor.
- Mechanism to send SMS messages if the temperature rises above a defined limit.
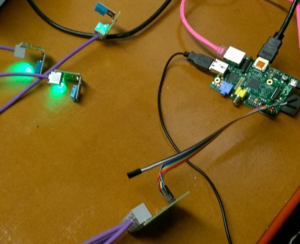
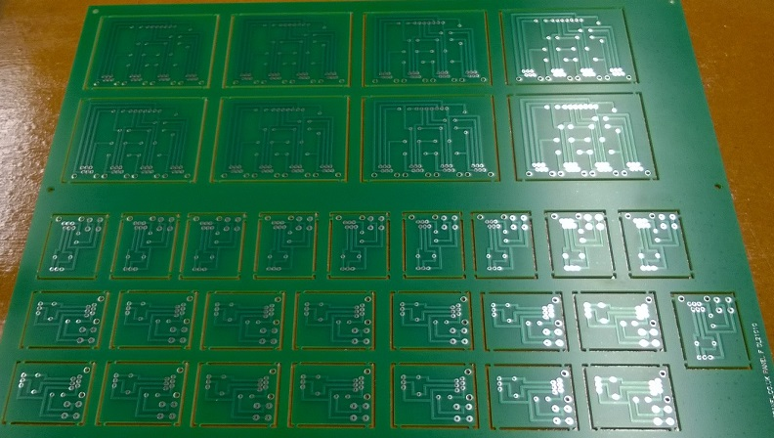
The prototype for this system was a single DHT11 sensor on a breadboard, connected to a Pi's GPIO pins. This worked great so I moved onto the next step and came up with the idea to create "sensor pods" - small circuit boards containing the DHT11 sensor, some sort of connector and an LED. I then designed a connector board to sit between these pods and the Pi. Using four RJ12 ports on each connector board I could then plug up to 4 pods in to each Pi (although in practise it became unreliable when more than 3 were plugged in, presumably I was trying to draw too much power out of the Pi). I knocked up the boards in Circuit Wizard and sent them off to a PCB printing company.
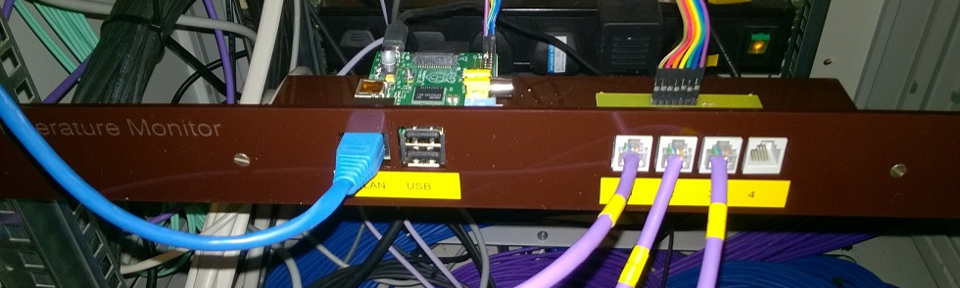
Once assembled each connector board presented four RJ12 ports, and connected to the Pi's 3V, 5V, Ground and 4 of the GPIO pins. The sensor pod boards then connected with an RJ12 cable knocked up using some spare lengths of cat5e. The next step in this adventure was to find a way to rack mount all this kit - I was fine with the sensor pods hanging loosely at the top of the rack but the Pi and connector board needed to be mounted neatly. One of the benefits of working in a school is the Design & Technology department. A couple of hours working out a design and with the laser cutter and hot wire acrylic bending machine, I'd got some rack mount kits for my project.
We use a bespoke web based system that I've written for a few things at work (bookings, till system, library management etc) so I then integrated this project as a module in the system. I can now log in and see a list of sensors on the system, their current values, and can define alert thresholds for each, and configure recipients for alerts - SMS and email - and configure which sensors each recipient is alerted for.

The next steps in this project were to complete the cases with a top cover, and make some cases for the little sensor pods, along with adding temperature graphs to the web based system, I'm a little ashamed to say I abandoned it there however I may pick it up again and finish it off one day.
Support My Work
I hope you find my content useful. Please consider tipping to support the running costs of hosting, licensing etc on my Ko-fi page.
