
Fixing a broken Windows Recovery partition
![]()
We've got a few Surface Go which I re-imaged using a Config Manager task sequence - this deletes all partitions and just sets up a basic recovery partition along with a big C partition, and installs Windows 10 Education. This is fine for our desktops and shared devices which can come in for another go through the task sequence if they need resetting. Moving forwards to personal devices, managed by Intune only and Azure AD joined (not hybrid, therefore no relationship with the Active Directory domain) I like features such as Wipe in Intune/Autopilot to work (along with the equivalent screen in Settings - Reset This PC). In this setup, Reset This PC does not work as the recovery partition doesn't contain the correct files.
I had a look at how to fix this, and getting the re-built devices to reset into their original Windows 10 edition (Pro) with their original device embedded key. This worked quite well and I'll go through what I had to do in this post.
Copying an Existing Recovery Partition
You'll need a second device where you've not messed up the recovery partition - in my case this was an identical Surface Go - and a way to copy files from one to another.
"Reset This PC" works using the Windows Recovery Environment (Windows RE), and Autopilot Wipe works through this same system. There should be a special hidden recovery partition which should contain a Recovery folder, within that a WindowsRE folder, and within that some files:
- boot.sdi
- ReAgent.xml - a configuration file containing settings
- Winre.wim - a typically around 500MB image, this contains the Windows Recovery Environment
In my case, these files existed on the device that had issues but they were completely different to those that come with a Surface Go as standard.
An outline of what we need to do:
- Get the contents of the recovery partition off the working device
- Put them on the device with issues - on the recovery partition if it's big enough, otherwise a standard partition will work
- Tell Windows where to find the recovery files and enable it
- Test!
So on your working device, you'll need to access the recovery partition. If you open Disk Management (diskmgmt.msc) you should see a partition showing as "Healthy (Recovery Partition)" - make a note of which partition this is - and how big it is.
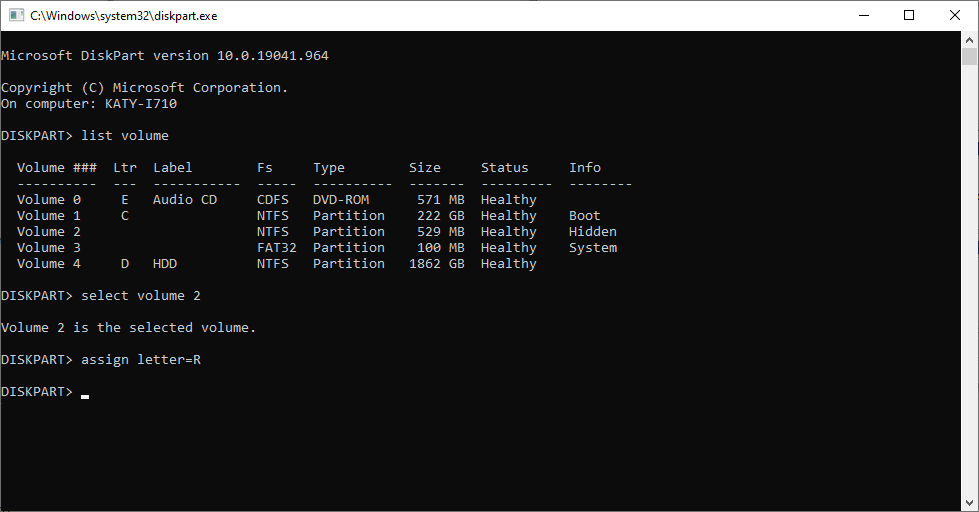
Now in an administrative command prompt or PowerShell, run diskpart, and run through the following commands:
- list volume (this will list the volumes on your device)
- select volume x (where x is the recovery partition - work this out by looking for a Hidden volume of the size you noted down)
- assign letter=R (or another drive letter if R is already in use)
Now in file explorer, making sure that you have enabled the option to see hidden/system and protected files, have a look in the R: drive that has appeared, and check you can access the Recovery folder. If you've got UAC enabled you'll probably have to go into its properties, then add yourself to the NTFS permissions list. Take a copy of this folder for use on the other device.
We can now clear up the drive letter assignment in the diskpart window (assuming you didn't close it) by running remove letter=R.
Updating the Device
Now moving to the device(s) you need to repair - go through the same process here. Look in Disk Manager and see if there's a recovery partition. If it is the same size (or larger) than the one on your source device, go ahead and assign it a drive letter.
If it's not big enough, you'll need to create a standard partition to store the recovery data. You can shrink the Windows volume (usually C:) from Disk Manager these days, so do that and free up enough space for your recovery data. In my case, I just let it be 1GB as the source device had a 900MB recovery partition. This partition can just be NTFS formatted and assigned a drive letter for now.
Copy the Recovery folder from the other device into the recovery partition (or, the new partition if you created one) on your device. Now we need to tell Windows where the recovery folder is located. We can do this with a tool called reagentc.exe. You can run this with various switches to view the status of the recovery agent, change the path and enable/disable it, as shown in the screenshot.

So on this device we're going to run:
reagentc /setreimage /path R:\Recovery\WindowsRE /target C:\Windows
When we run this note that the path is to the WindowsRE folder within the Recovery folder, and not directly to the WinRE.wim file.
Assuming this has gone okay, we can run reagentc /enable to turn this feature back on. We can check if it's happy with reagentc /info.
Windows Activation issues
Finally, if you built your device with a different edition of Windows to that which it came with, you can change this back by setting its product key. In an administrative command prompt, run:
wmic path softwarelicensingservice get OA3xOriginalProductKey
This will display the key which is embedded in the device hardware by the manufacturer (modern equivalent to the Certificate of Authenticity sticker) and with the product key displayed, run:
slmgr /ipk WINDOWS-KEY-GOES-HERE
to put the original key back on. If you get an error about the key being incorrect you may need to go via the GVLK (or KMS Client) key for that Windows edition first - these can be found in the Microsoft Docs. Run the slmgr command with the GVLK key for your edition, then run it again with the key you obtained from the wmic command.
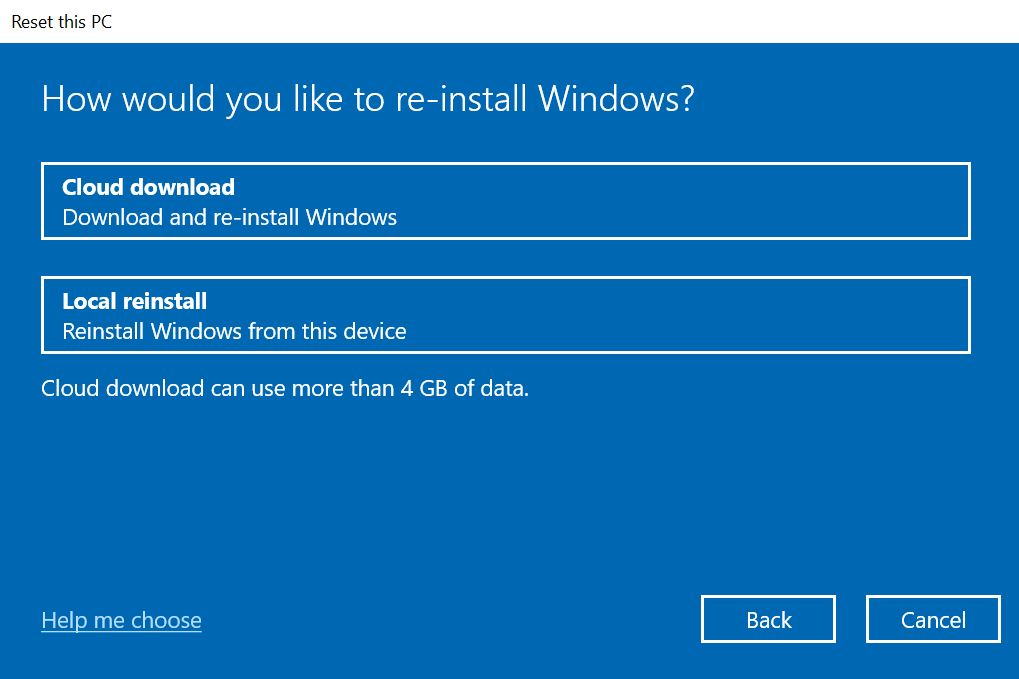
With any luck you should be able to go through Settings and Reset This PC, which should now work. When I tried this, Cloud Download failed (although I was behind a firewall which does SSL inspection and messes with certificates) but local re-install worked fine.
If you had to create a new partition for this, you can remove the drive letter in diskpart (remove letter=R) and you can tell the system that the new partition is the recovery partition - to hide it from the end user - although this isn't strictly necessary for it to function. Details on this can be found in the Microsoft Docs.
Further Reading
In this post
- Introduction
- Copying an Existing Recovery Partition
- Updating the Device
- Windows Activation issues
- Further Reading
Support My Work
I hope you find my content useful. Please consider tipping to support the running costs of hosting, licensing etc on my Ko-fi page.
