
Moving the Blog to Azure App Service
I recently moved this blog from WordPress to its current form - a custom PHP site running on Azure App Service. At the back end I decided to store the blog posts as Markdown, as it's relatively easy to edit in any text editor, and I did not want to re-create a rich editor like WordPress has. I also wanted the site to be easy to deploy, if I need to move it or scale up multiple servers, so I decided it should be a (private, for now) GitHub repository. I've already created a template site which is used with my Redirect Tool and Certificate Expiry Tool projects, so it would make sense to extend this.
What is Azure App Service?
Azure App Service is a HTTP hosting service on Azure, supporting a variety of languages such as PHP, .NET, Python. This makes it perfect for running the new blog site - which is just a PHP site. You can choose to run on Linux or Windows virtual machines. For PHP there isn't much difference except there's a few configuration items that are easier on Windows than on Linux, in my case the ability to change the web root directory didn't seem to be possible on Linux.
With Azure App Service, you can configure the site to use a GitHub repository as its source, and have it automatically update whenever you commit and push to the repository (e.g. from your development environment). There's a variety of plans based on the features you need and the traffic levels you would expect - along with the estimated cost. The plans are split into a few types:
- Free: Limited memory and compute. You could use this for dev/testing a light application with a limited amount of free compute (e.g. 1 hour per day). You wouldn't be able to leave the site available 24/7 on this plan.
- Basic: Dedicated compute but running on the lower end VMs, designed for dev/testing or light usage. Custom domain names and SSL certificates are supported from this level, along with manual scaling (up to 3 instances).
- Standard: Dedicated compute on slightly better VMs than basic, custom domains, SSL and auto-scaling (10 instances) are supported, along with backup, staging slots and traffic manager. Designed for light production workloads.
- Premium: As Standard, with more powerful VMs and higher limits on auto-scaling and staging slots. Designed for production workloads.
- Isolated: As Premium, but with additional security options.
In the list above I mentioned staging slots - by default your app has a single slot (production), you can add additional slots which function as a separate app for testing purposes. Once you are happy your test slot is working fine you can swap it into the production slot.
You can also configure automatic scaling - bringing more instances online when load is high, and removing them when load returns to normal.

Converting WordPress to Markdown
As mentioned, I decided that the blog posts on the new site should be written in Markdown. This is a format which is designed to be easy to edit, and is used by many sites including Microsoft Docs. As I've got about 90 posts at the point of moving the blog, I wanted to automate this as much as I could. There are plenty of tools out there, I used lonekorean's wordpress-export-to-markdown which needs the XML export file from WordPress and will convert the posts and download the associated images. I opted to not use year and month folders so I was left with a folder per post, with the post itself and the images within, which I then had to sort into category subfolders ready to upload to the GitHub repository.
Writing the code
Write the code! My blog isn't a public repository on GitHub (although may be in the future), so this step is totally up to you. Whether you write something like I have done, or use some sort of static site generator, up to you. The new site used the template I used for the Redirect Tool and Certificate Expiry tools, and I built a markdown parser engine to add to that template.
In my case I keep the Markdown/media separate from the publicly accessible directories, so we need a 404 error handler pointing at index.php, which works out from the URL what file or media is being requested, finds it and outputs to the user, parsing and putting it in the template as required.
Once you have everything ready, add it to a new GitHub repository (it can be private or public). By default everything in the repository will be accessible via the web root, if you have some things you don't want accessible you'll need to reconfigure the path mapping in the App Service.
Setting up Azure App Service
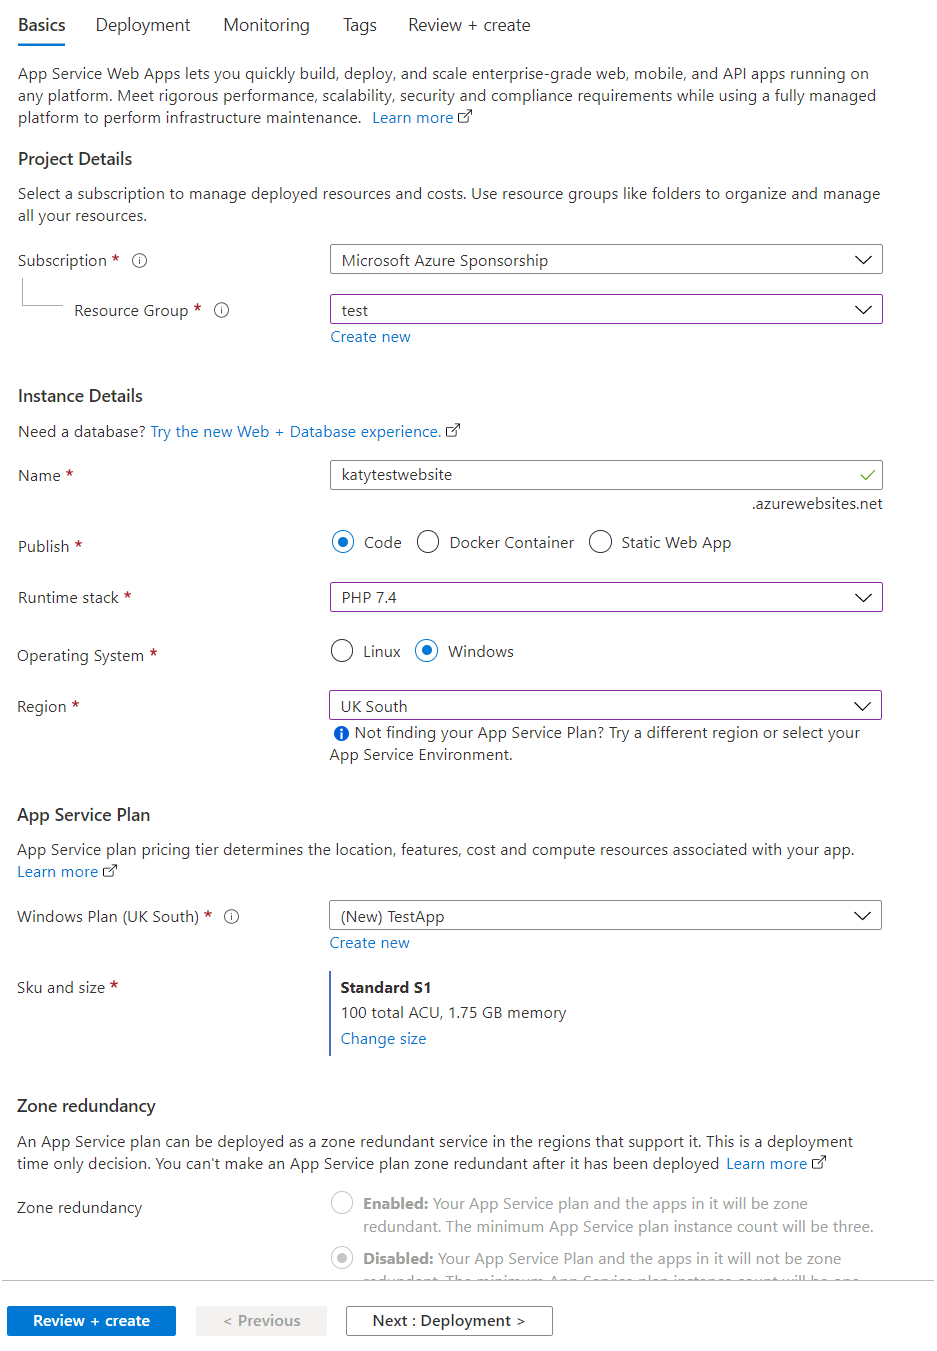
My next step was to set up the Azure App Service. I picked the appropriate plan based on traffic and visitor stats, and went for one of the Standard plans. I initially looked at a Linux based service but couldn't change the web root from the Azure portal (although you can do this with a .htaccess file), so in the end went with Windows. To create the Azure App Service, you'll need an Azure subscription. The app service is set up and managed from the App Service section of the Azure portal. When creating the web app, you'll need to pick a name which is unique across all of Azure, it doesn't really matter what you pick for this as in a later step you can add your own domain.
Once you've created the app - I'd recommend putting it in its own resource group - you're ready to configure the settings and link your GitHub repository. In my case, I first needed to change the web root to point at the 'www' folder. This can be done under the Configuration > Path mapping page. You can also push settings to the app through the Configuration > Application Setting page to avoid having to store them within the GitHub repository, such as database connection string.
Now we've configured the settings, we should create a new deployment slot, I've called mine stage and told it to copy settings from the production slot. The idea with this is that we link the staging deployment slot to our GitHub repository, and using GitHub Actions we have it automatically deploy whenever the repository is updated. Once you've tested the deployment you can then swap the slot with the production slot, making the new code live.
 and additional slot named 'stage'")
Click on your staging slot, and then on Deployment Center. Fill out the form, selecting GitHub as the source location, sign in with your GitHub credentials and select the repository and branch. This will create a GitHub Action which automatically updates the deployment slot when the repository is updated.

You can monitor progress through the Logs section. Once that's completed you should be able to go to your staging slot's web address in a browser.
A custom domain name can be configured through the Custom Domains page. You can either buy a new one through the portal, or import an existing domain by modifying its DNS records to point at the web app. SSL certificates can also be imported, through the TLS/SSL settings page. You will need a PFX containing the certificate and private key.
When you're ready you can then go back to the main web app's configuration, then to Deployment Slots and swap your stagig slot into production.
Done!
That's the basic introduction to App Service. In my case I've writeen a PHP site which reads blog posts written in Markdown, and using GitHub Actions to automatically deploy when the repository is updated. You can turn on log redirection if you wish to have a look at the web access logs in Log Analytics, and make a dashboard parsing these. For an introduction to Log Analytics (with Azure AD, although the techniques are the same for all data sources) see my previous post.
Further Reading
In this post
- Introduction
- What is Azure App Service?
- Converting WordPress to Markdown
- Writing the code
- Setting up Azure App Service
- Done!
- Further Reading
Support My Work
I hope you find my content useful. Please consider tipping to support the running costs of hosting, licensing etc on my Ko-fi page.
